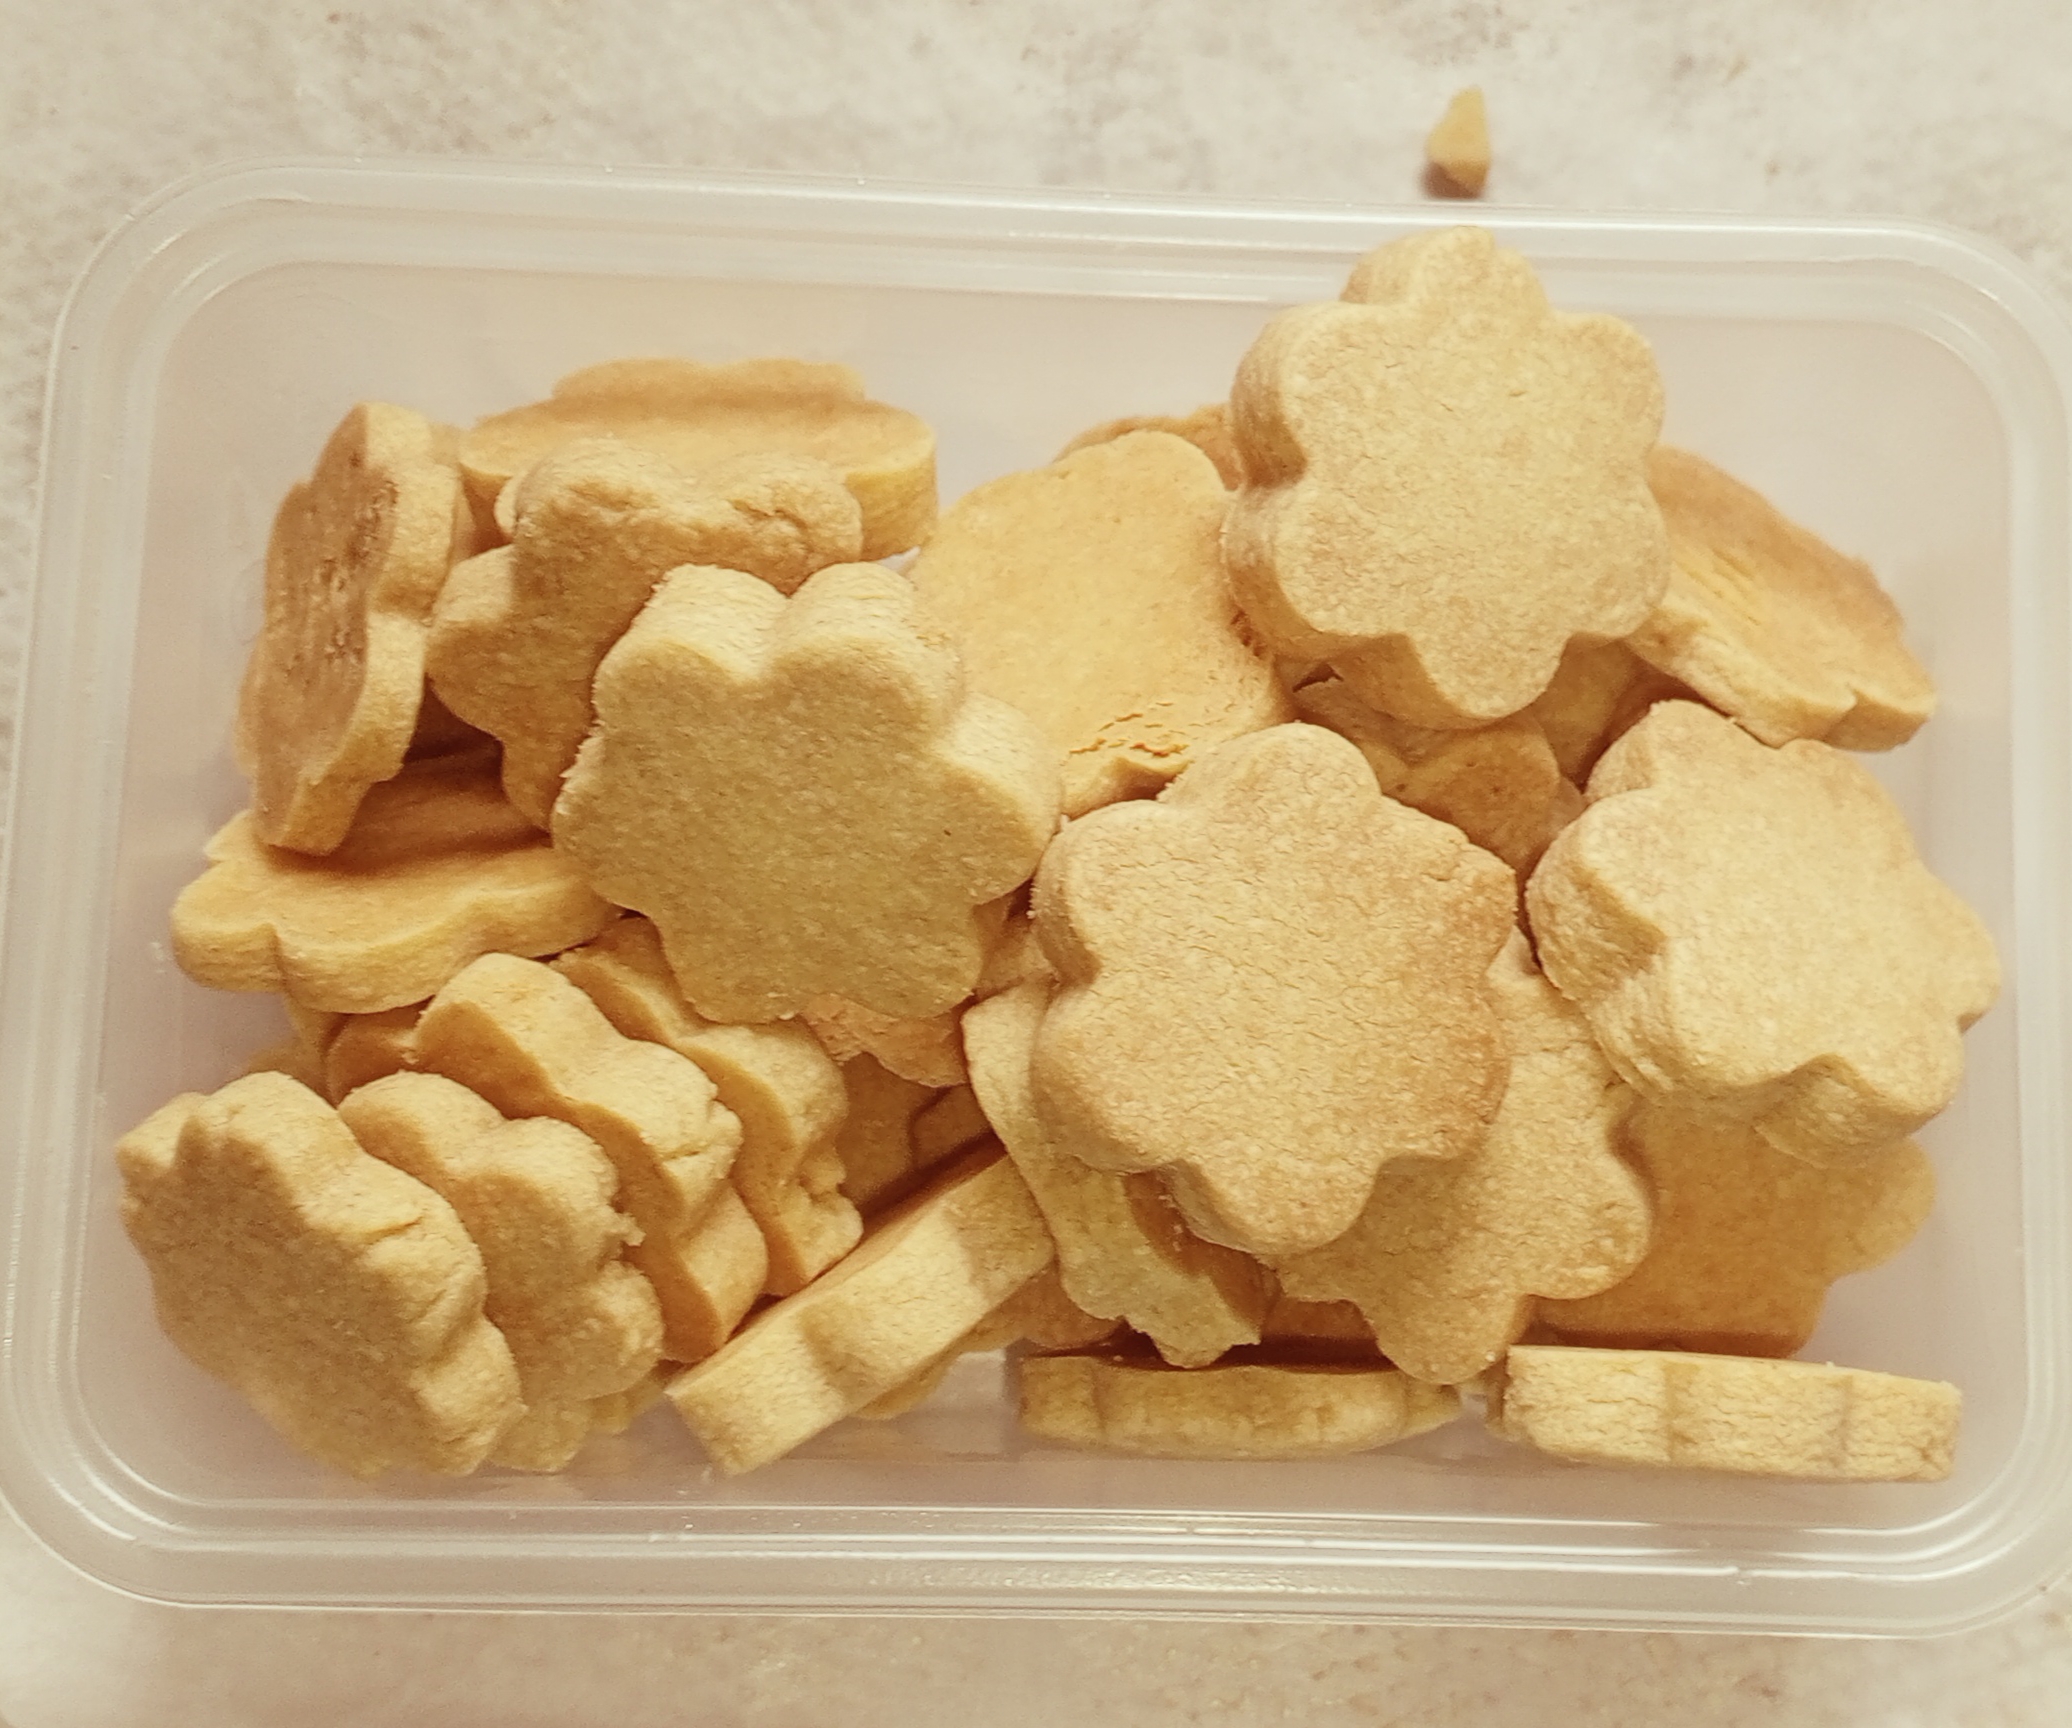
There’s something really comforting about homemade cookies, especially the simple buttery kind that fills the kitchen with that warm baking smell. I personally enjoy cookies that are somewhere in between soft and crunchy, not too hard and not too soft either. Just enough crunch on the outside with a light buttery texture inside.
What I also love about this recipe is how simple it is. You don’t need too many ingredients or complicated steps to make delicious homemade cookies. I usually roll out the dough and use cookie cutters to shape mine, which makes the process even more fun and gives the cookies a nice homemade look.
If you enjoy simple buttery cookies that go well with tea or can be eaten as a snack, here’s how I make mine at home.
Ingredients For Homemade Butter Cookies
Butter
Icing sugar
Flour
A pinch of salt
How to Make the Cookies
1. Cream the Butter and Sugar
Start by mixing the butter and icing sugar together until it becomes smooth and slightly fluffy. This step helps give the cookies a soft and buttery texture.
2. Add the Dry Ingredients
Gradually add the flour and a pinch of salt.
Mix gently until a soft dough forms.
I try not to overmix the dough because overmixing can affect the final texture of the cookies.
Once the dough comes together, stop mixing.
3. Roll and Shape the Dough
Lightly flour your surface and roll out the dough.
Use cookie cutters to shape the cookies into any design you like.
This part is honestly one of my favorite parts because it makes the cookies look more fun and homemade.
4. Arrange on a Baking Tray
Place the shaped cookies on a lined baking tray, leaving a little space between them.
5. Bake
Bake on normal heat for about 40–60 minutes, depending on your oven and how crunchy you want the cookies. The longer they bake, the crunchier they become.
Why I Love This Recipe
I love this recipe because it’s simple, affordable, and easy to customize.
Even with very basic ingredients, you can still make something that feels special and homemade.
The cookies also store well, making them perfect for snacks or tea time.
Tips for Good Homemade Cookies
- Avoid overmixing the dough
- Roll the dough evenly so the cookies bake properly
- Watch the cookies closely toward the end of baking
- Allow them to cool properly for better texture
Common Mistakes When Making Homemade Cookies
Overmixing the Dough
Overmixing can make cookies tougher instead of soft and buttery.
Rolling the Dough Too Thin
Very thin dough may cause the cookies to become too hard after baking.
Baking for Too Long
The longer the cookies stay in the oven, the crunchier they become, so it’s important to watch them closely.
Not Allowing the Cookies to Cool
Cookies continue to firm up slightly as they cool, so avoid judging the texture immediately after baking.
Simple Cookie Variations to Try
- Add chocolate chips
- Add coconut flakes
- Add oats for texture
- Add vanilla flavor
- Add crushed roasted peanuts (groundnuts)
- Shape them differently with cutters
Frequently Asked Questions
Why are my cookies too hard?
This can happen if they bake for too long or if the dough is overmixed.
Can I add other ingredients?
Yes. You can add chocolate chips, coconut, oats, or even a little milk flavor if you like.
Do I need to chill the dough?
Not necessarily. I usually bake mine without chilling the dough, and they still turn out well.
How should I store homemade cookies?
Store them in an airtight container after they cool completely to keep them fresh and crunchy.
Homemade cookies don’t always have to be complicated or bakery-perfect to taste good. Sometimes, the simple recipes are the most enjoyable, especially when they’re buttery, comforting, and made fresh at home.
Whether you enjoy them with tea or as a quick snack, these cookies are one of those simple treats worth making again and again.
Related Recipes You’d Love To Try
Zobo Drink Recipe (Nigerian Hibiscus Drink with Ginger & Lemongrass)
How to Make Coleslaw Sandwich Bread at Home
Crispy Homemade Granola (Oven Method) – Easy, Healthy & Budget-Friendly
Easy Plantain Pancakes Recipe (Soft, Sweet & Filling)

Leave a Reply